Why You’ll Love this Cherry Angel Cake
Simplicity is the secret weapon of this Cherry Angel Cake.
You’re just three ingredients away from dessert magic—cake mix, cherry filling, and vanilla—plus that fluffy whipped topping for the finale.
What’s not to love about a recipe that’s practically foolproof?
The contrasting textures will win you over: airy, cloud-like cake meets those juicy cherry pieces hiding throughout.
Perfect for last-minute gatherings or when that sweet tooth strikes without warning.
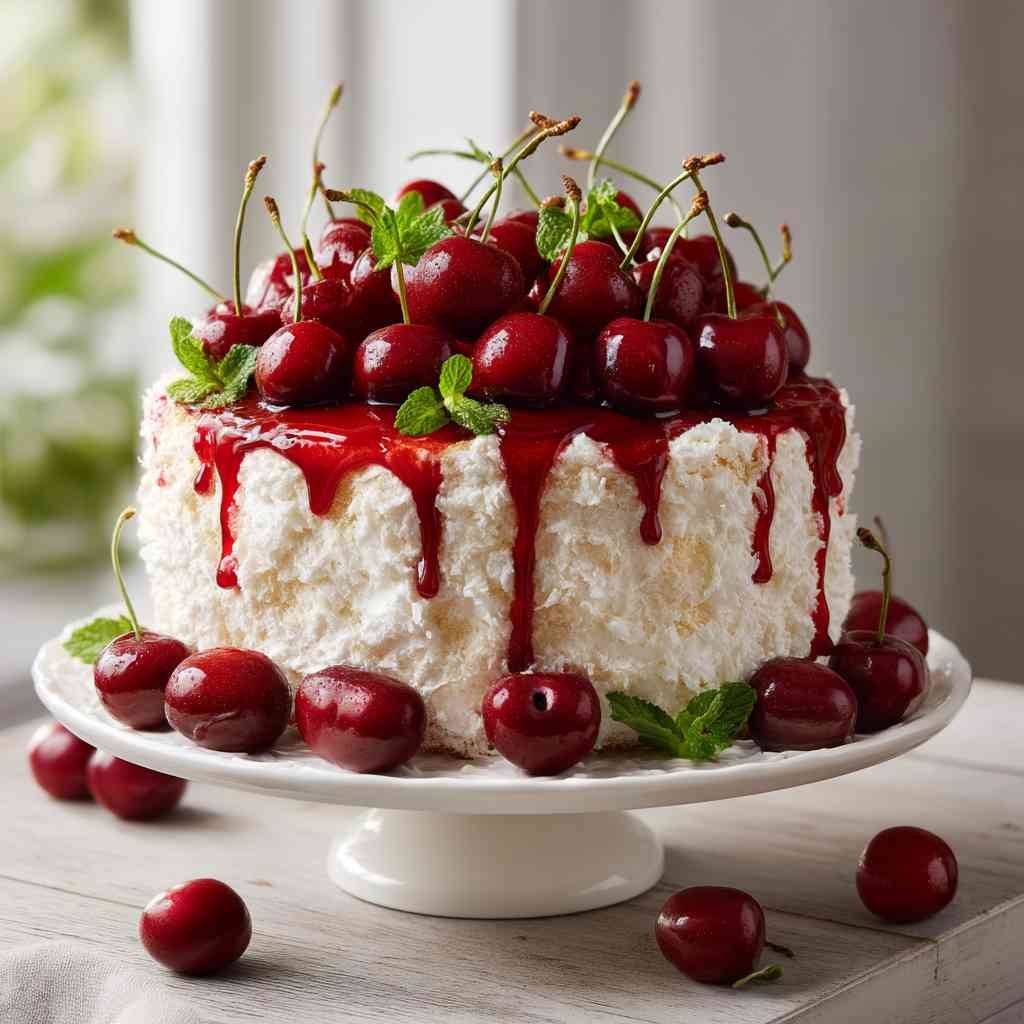
And the color? That gorgeous pink hue makes it Instagram-worthy without any food coloring or fancy techniques.
Your guests will think you spent hours in the kitchen.
What Ingredients are in Cherry Angel Cake?
When it comes to deliciously simple desserts, this Cherry Angel Cake takes the prize for requiring minimal ingredients while delivering maximum flavor. The beauty of this recipe lies in its short, straightforward ingredient list—perfect for those days when you want something sweet without a lengthy shopping trip or spending hours measuring tiny amounts of this and that.
- 1 box (15-16 oz/~425g) angel food cake mix
- 1 can (21 oz/~595g) cherry pie filling
- 1 teaspoon pure vanilla extract
- 1 tub (8 oz/~225g) whipped topping, thawed
- Optional garnishes: fresh cherries or shaved white chocolate
The quality of your cherry pie filling can make a big difference in the final result, so grab a brand you trust if possible. And while the recipe calls for whipped topping (like Cool Whip), you could absolutely substitute freshly whipped cream if you prefer a less processed option. Just keep in mind that fresh whipped cream won’t hold up as long, so it’s best if you’re serving the cake the same day. As for the optional garnishes—they’re technically optional, but who doesn’t want that extra touch of fresh cherries or delicate chocolate shavings to make your dessert look like it came from a fancy bakery?
How to Make this Cherry Angel Cake
Making this cherry angel cake couldn’t be simpler, starting with preheating your oven to 350°F (175°C).
In a large mixing bowl, combine one box (15-16 oz/~425g) of angel food cake mix with one can (21 oz/~595g) of cherry pie filling and a teaspoon of pure vanilla extract. The magic happens right in this step—no eggs, no oil, just these three ingredients coming together to create a thick, fluffy batter.
When mixing, use gentle folding motions rather than vigorous stirring, which helps maintain all those air bubbles that give angel food cake its signature texture.
Once your batter is evenly mixed (and yes, it will be quite thick), pour it into an ungreased 9×13-inch baking dish. The ungreased pan is vital here—angel food cake needs to climb up the sides of the pan as it bakes, and any greasing would prevent this.
Spread the batter evenly with a spatula, then pop it into your preheated oven for 35-40 minutes. You’ll know it’s done when the top turns a beautiful golden brown and springs back slightly when you press it gently with your fingertip. That springy texture is the hallmark of a perfectly baked angel food cake.
After baking, patience becomes your most important ingredient. Let the cake cool completely in the pan on a wire rack before adding the finishing touch—spreading the entire tub (8 oz/~225g) of thawed whipped topping over the top.
This cooling period isn’t just a suggestion; it’s essential for the cake’s structure and prevents the whipped topping from melting.
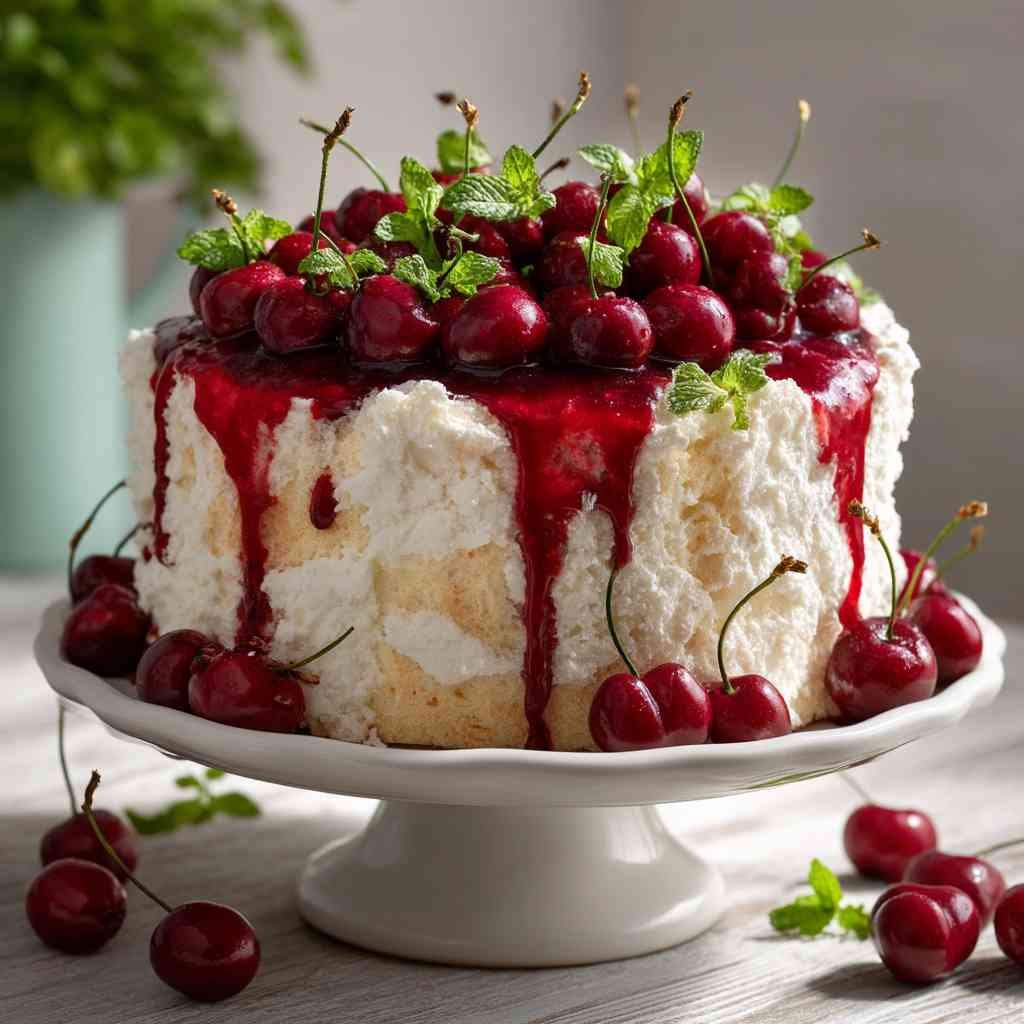
For a final flourish that makes this humble dessert look like it came from a bakery window, add some fresh cherries or delicate shavings of white chocolate. The contrast of the white topping against the vibrant cherries creates a dessert that’s as beautiful as it’s delicious.
Cherry Angel Cake Substitutions and Variations
Although this cherry angel cake is delightful as written, you’ve got plenty of room to play with the recipe depending on what’s in your pantry or your flavor preferences.
Try swapping cherry pie filling for blueberry, strawberry, or even peach for a completely different flavor profile. Not a fan of whipped topping? Real whipped cream works beautifully, too.
Want something more decadent? Drizzle some chocolate sauce over the top, or fold mini chocolate chips into the batter before baking.
And for those special occasions, a splash of almond extract alongside the vanilla creates a sophisticated cherry-almond combination that’s simply divine.
What to Serve with Cherry Angel Cake
While this cherry angel cake stands perfectly on its own, pairing it with the right accompaniments can elevate your dessert experience to new heights.
A scoop of vanilla bean ice cream creates a heavenly contrast of warm and cold, especially if your cake is still slightly warm.
For drinks, consider a creamy latte, hot chocolate, or even a tart cherry cordial.
Want something invigorating? A small dish of lemon sorbet cleanses the palate between bites.
And don’t forget presentation—serving on a white plate with a mint sprig makes those vibrant cherry colors pop, doesn’t it?
Final Thoughts
This cherry angel cake brings three wonderful qualities to your dessert table: it’s incredibly simple, surprisingly versatile, and absolutely delicious.
With just a handful of ingredients and minimal prep work, you’ve got a showstopper that’ll have everyone asking for the recipe.
Remember, you can always adapt this cake to fit your occasion—swap cherries for blueberry filling, add a dash of almond extract, or dress it up with edible flowers.
The beauty lies in its simplicity.
A perfect dessert for beginners and seasoned bakers alike.
Sometimes the most unassuming treats become our most requested recipes.
Cherry Angel Cake
Ingredients
Equipment
Method
- Preheat your oven to 350°F (175°C).
- In a large mixing bowl, combine the angel food cake mix, cherry pie filling, and pure vanilla extract. Use gentle folding motions to mix so that the batter retains its light, airy texture.
- Pour the thick batter into an ungreased 9×13-inch baking dish and spread it evenly with a spatula.
- Bake in the preheated oven for 35-40 minutes until the top turns a beautiful golden brown and springs back slightly when pressed.
- Remove the cake from the oven and allow it to cool completely in the pan on a wire rack. This step is crucial to ensure the whipped topping doesn’t melt.
- Spread the entire tub of thawed whipped topping evenly over the cooled cake.
- If desired, garnish with fresh cherries or shaved white chocolate for a decorative, bakery-style finish.