Why You’ll Love this Not Yo Mama’s Banana Pudding
If you’re searching for a dessert that’ll make everyone at your table swoon, Not Yo Mama’s Banana Pudding is about to become your new go-to showstopper.
This isn’t your standard banana pudding—it’s upgraded with cream cheese for tangy richness and a silky-smooth texture that’ll have guests asking for the recipe.
You’ll love how the vanilla wafers soften into cake-like layers between fresh banana slices and decadent pudding.
The combination of instant pudding mix and sweetened condensed milk creates a foolproof base that never disappoints.
Best part? It actually tastes better after sitting overnight, making it perfect for stress-free entertaining.
What Ingredients are in Not Yo Mama’s Banana Pudding?
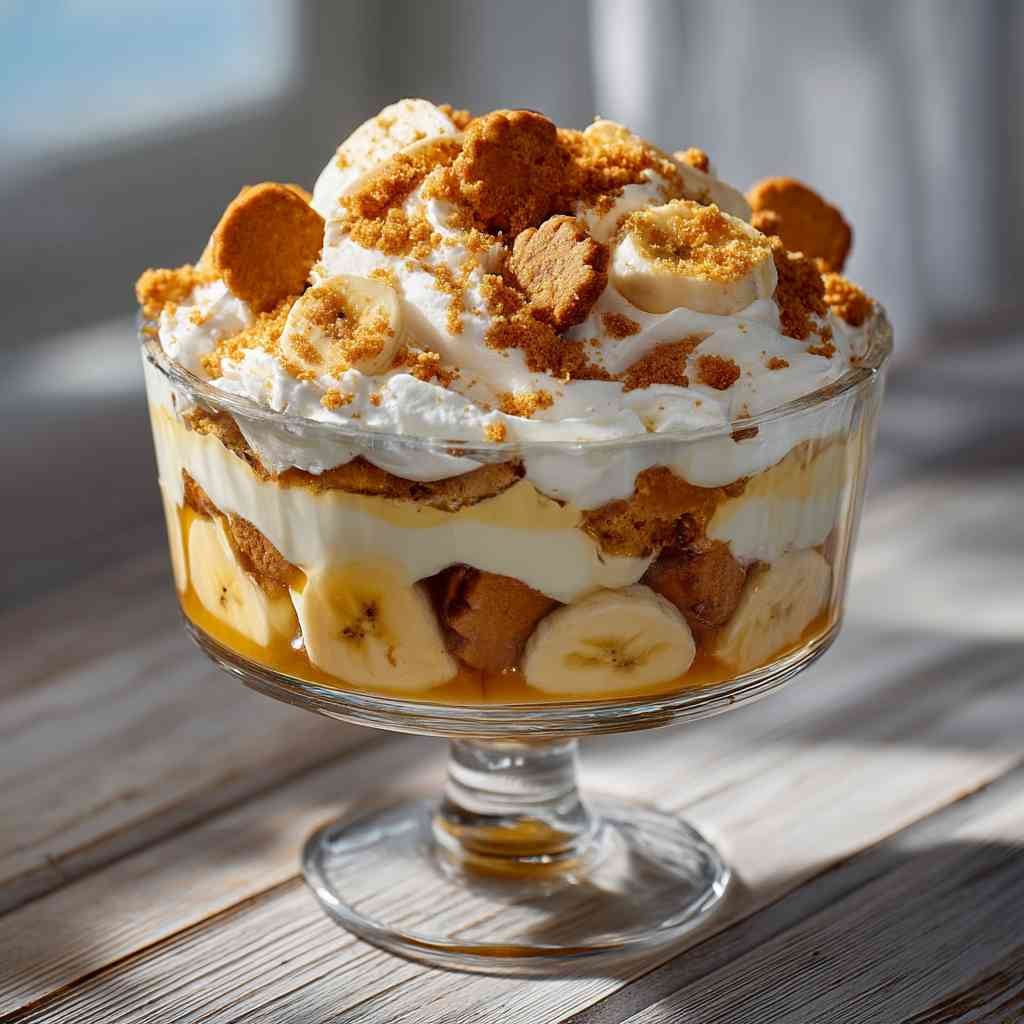
Not Yo Mama’s Banana Pudding is all about layers of flavor and indulgence, with a creamy twist that makes it stand out from traditional recipes.
The secret weapon here is definitely the cream cheese, which adds a tangy richness you won’t find in regular banana pudding. This dessert strikes the perfect balance between fresh banana flavor, vanilla sweetness, and a luscious pudding texture that makes it practically irresistible.
- 1 box (11-12 oz/about 300g) vanilla wafer cookies (like Nilla Wafers)
- 6-8 ripe bananas, sliced into rounds
- 1 package (8 oz/225g) cream cheese, softened
- 1 can (14 oz/400g) sweetened condensed milk
- 1 box (5 oz/140g) instant vanilla pudding mix
- 2 cups (480ml) cold milk
- 1 container (12 oz/340g) frozen whipped topping, thawed (or 4 cups homemade whipped cream)
When shopping for these ingredients, banana ripeness matters—you want them ripe enough to be sweet but still firm enough to hold their shape when sliced.
Room temperature cream cheese is non-negotiable for achieving that perfectly smooth texture without lumps.
And while store-bought whipped topping works beautifully here, feel free to substitute homemade whipped cream if you prefer a less sweet, more authentic taste.
The beauty of this recipe is its flexibility—it’s impressive enough for special occasions but simple enough for a weeknight treat when those banana pudding cravings strike.
How to Make this Not Yo Mama’s Banana Pudding
Making this creamy, dreamy banana pudding starts with the pudding base. In a large mixing bowl, whisk together one 5 oz box of instant vanilla pudding mix and 2 cups of cold milk until it’s smooth and slightly thickened—this usually takes about 2 minutes.
Set this aside while you tackle the cream layer, which is where the magic happens. In another bowl, beat the 8 oz package of softened cream cheese (and yes, softened really matters unless you enjoy arm-wrestling with lumpy pudding) with an electric mixer until it’s fluffy and light.
Then add the 14 oz can of sweetened condensed milk and mix until everything’s well combined and looking gorgeously smooth.
Now comes the fun part—gently fold in your prepared pudding mixture until smooth, creating that signature velvety texture.
Next, take about two-thirds of your 12 oz container of thawed whipped topping and fold it in gently. Why gently? Because we want to keep all that airy goodness intact, giving our pudding that cloud-like consistency.
Reserve the remaining third of the whipped topping for the final layer—it’s like saving the best piece of jewelry for last.
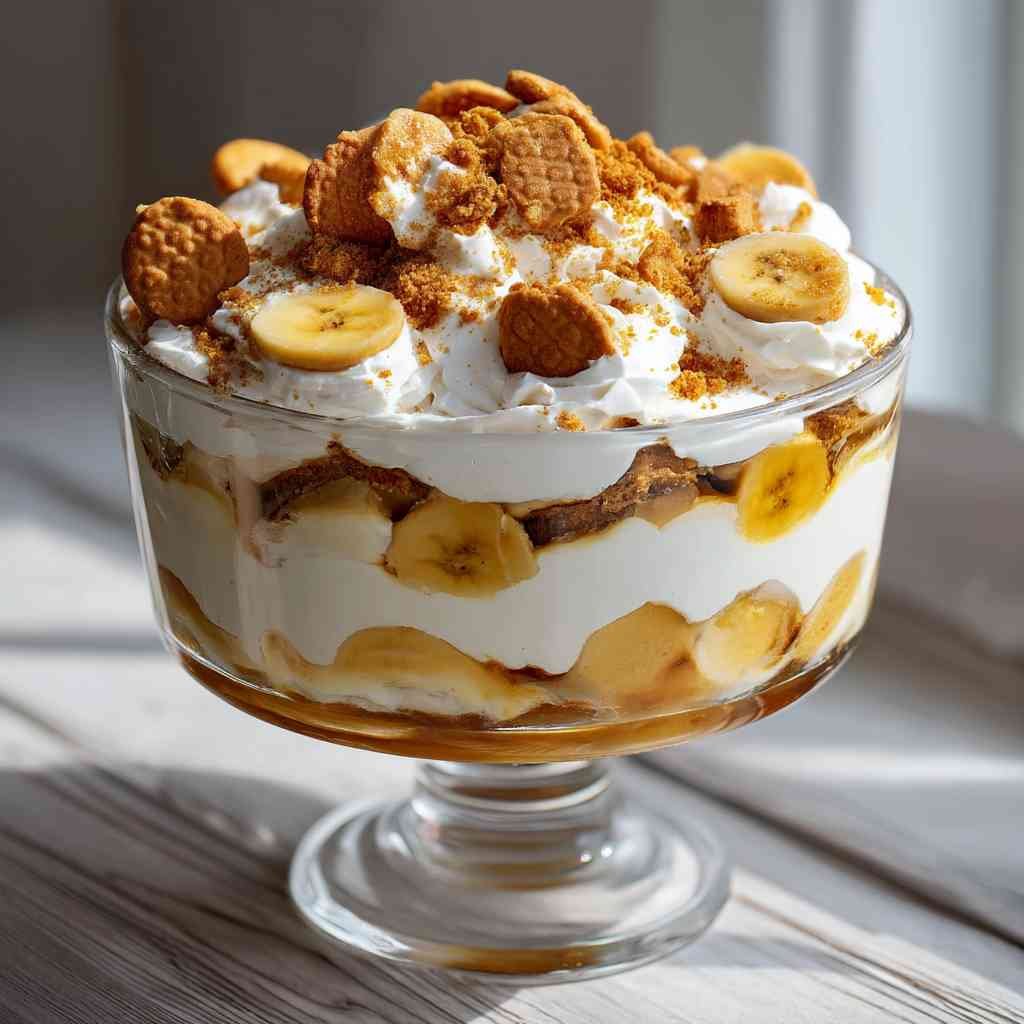
For assembly, grab a 9×13-inch dish and create alternating layers of vanilla wafers, banana slices, and the cream cheese pudding mixture, finishing with pudding on top.
The final flourish is spreading that reserved whipped topping over everything and adding a few crushed vanilla wafers for a bit of texture and visual appeal.
What truly elevates this pudding from good to unforgettable is letting it chill for at least 4 hours before serving, though overnight is even better. The waiting is the hardest part, I know, but this resting time allows those vanilla wafers to soften slightly and the flavors to meld together.
When you finally dig in, you’ll discover perfect spoonfuls of creamy pudding, tender cookies, and sweet bananas that somehow taste like they were always meant to be together.
Not Yo Mama’s Banana Pudding Substitutions and Variations
While the classic Not Yo Mama’s Banana Pudding recipe deserves all its acclaim, there’s always room for delicious customization to suit your dietary needs or flavor preferences.
Can’t do dairy? Try coconut milk and dairy-free cream cheese.
Watching sugar? Use sugar-free pudding mix and lite condensed milk.
For a chocolatey twist, swap vanilla pudding for chocolate and add cocoa-dusted bananas.
Gluten-free folks can substitute gluten-free cookies for the wafers.
Got adventurous taste buds? Add a splash of rum, a sprinkle of cinnamon, or layer in toasted coconut between those creamy, dreamy layers.
What to Serve with Not Yo Mama’s Banana Pudding
When you’re serving a showstopper dessert like Not Yo’ Mama’s Banana Pudding, pairing it with complementary offerings can transform your dessert course into a memorable experience.
Consider serving it alongside a robust coffee or espresso to balance the sweetness. A scoop of vanilla bean ice cream never hurts, melting slightly against the cool pudding.
Want something unexpected? Try a small plate of salted caramel sauce for drizzling, or candied pecans for textural contrast.
For brunches, pair with fresh fruit to brighten the palette. A mimosa bar? Perfect. The citrus notes cut through the creamy richness, don’t they?
Final Thoughts
The beauty of Not Yo Mama’s Banana Pudding lies in its ability to transport us back to childhood while still surprising our grown-up taste buds.
You’ll find this isn’t just dessert—it’s an experience worth sharing with friends and family.
What makes this pudding special is how it balances nostalgia with innovation.
The cream cheese adds that unexpected tangy twist that elevates it beyond traditional recipes.
When you’re looking for that perfect make-ahead dessert that’ll have everyone asking for seconds, this is it.
Not Yo Mama's Banana Pudding
Ingredients
Equipment
Method
- In a large mixing bowl, whisk together the instant vanilla pudding mix and cold milk until smooth and slightly thickened (about 2 minutes).
- In another bowl, beat the softened cream cheese with an electric mixer until fluffy and light.
- Add the sweetened condensed milk to the cream cheese and mix until the mixture is beautifully smooth.
- Gently fold the prepared pudding mixture into the cream cheese mixture until well combined and silky.
- Fold in about two-thirds of the thawed whipped topping, reserving the remaining third for later.
- In a 9×13-inch dish, create alternating layers of vanilla wafers, banana slices, and the cream cheese pudding mixture, finishing with a layer of pudding on top.
- Spread the reserved whipped topping over the final layer and sprinkle with a few crushed vanilla wafers for added texture and visual appeal.
- Cover and chill the pudding in the refrigerator for at least 4 hours (overnight is even better) to allow the flavors to meld and the wafers to soften.