Why You’ll Love this Grandma’s Pie Crust
Three reasons you’ll love this timeless pie crust recipe that’s been passed down through generations.
First, it’s foolproof—even if you’ve never made pie crust before, those butter pockets create the flakiest layers you’ve ever tasted.
Second, it’s versatile enough for sweet or savory pies, from apple to chicken pot pie. The hint of sugar can be adjusted or omitted completely.
Finally, there’s something magical about working butter into flour with your fingertips, just like grandma did.
That satisfying moment when the dough comes together? Pure kitchen joy. Who needs store-bought when homemade tastes this good?
What Ingredients are in Grandma’s Pie Crust?
Grandma’s pie crust is all about simplicity and quality. The magic happens with just a handful of basic ingredients that transform into flaky, buttery perfection when combined with the right technique.
What makes this crust special isn’t fancy additions—it’s the perfect ratio of fat to flour and the careful handling that keeps those butter pieces intact, creating those heavenly layers we all crave.
- 2½ cups (300g) all-purpose flour
- 1 cup (230g) cold unsalted butter, cut into cubes
- 1 teaspoon salt
- 1 teaspoon sugar (optional, for slightly sweet crust)
- 6-8 tablespoons ice water
The key to a successful crust lies in keeping everything cold, especially the butter. Those little pockets of cold butter create steam during baking, which pushes the dough apart into flaky layers.
Can you use salted butter in a pinch? Sure, just reduce the added salt accordingly. And while the sugar is technically optional, I find that even for savory pies, that tiny bit of sweetness adds a wonderful dimension without making the crust actually taste sweet.
It’s one of those little secrets that elevates a good crust to a great one.
How to Make this Grandma’s Pie Crust
Making Grandma’s pie crust is all about technique, not complexity. Start by whisking together 2½ cups of all-purpose flour, 1 teaspoon of salt, and that optional teaspoon of sugar in a large mixing bowl. This creates the foundation for your perfect crust. The dry ingredients need to be well combined before moving forward—I like to use a whisk for this step because it adds a little air to the flour mixture.
Next comes the most important step: incorporating 1 cup of cold, cubed unsalted butter into your flour mixture. You can use a pastry cutter, two forks, or even your fingertips (though your hands will warm the butter, so work quickly). The goal is to create a crumbly mixture with some pea-sized butter pieces still visible—these little pockets of butter are what create those heavenly flaky layers.
Once your mixture looks like coarse crumbs with some larger butter pieces, it’s time for the ice water. Drizzle in 6 tablespoons of ice-cold water first, gently tossing with a fork. Add more water, one tablespoon at a time, just until the dough holds together when pressed between your fingers. The dough should be slightly shaggy, not wet or sticky.
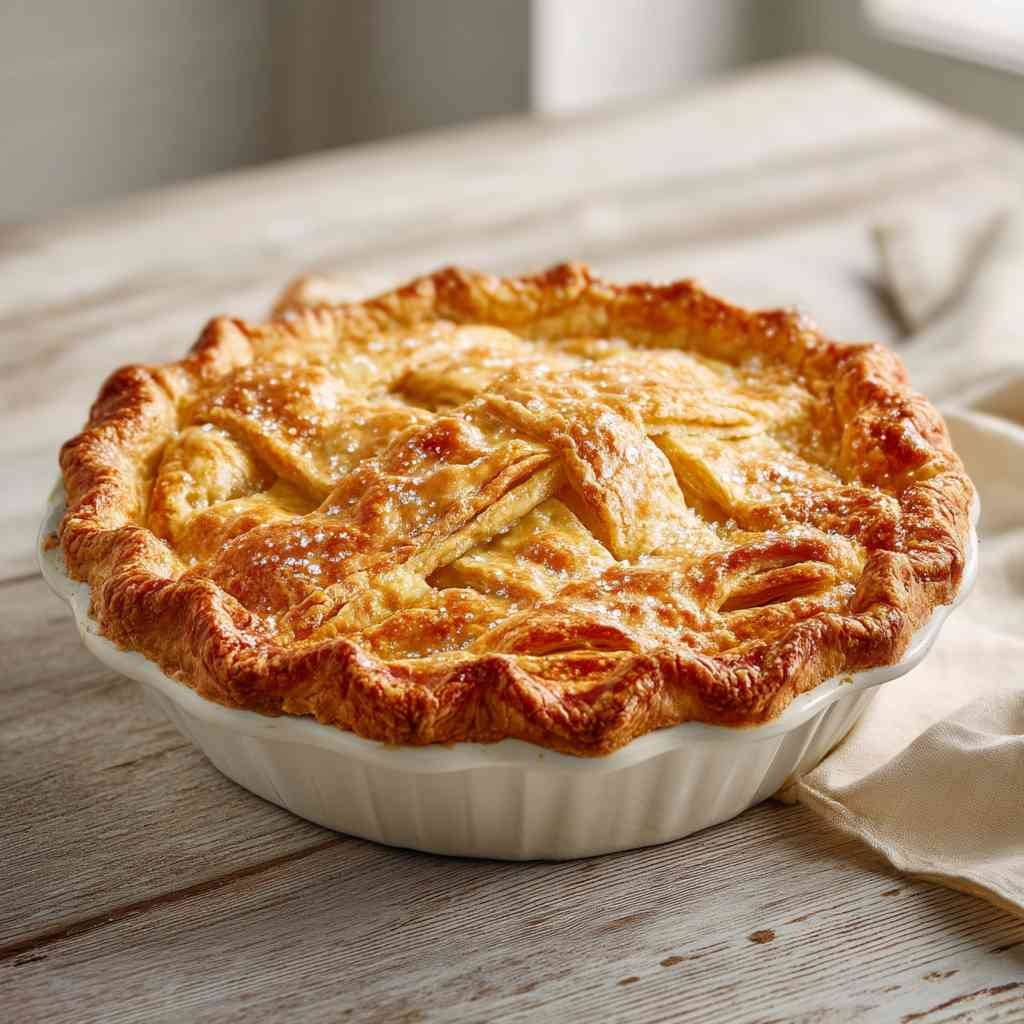
Gather the dough into a ball, then divide it in half and form each into a disk. This recipe makes enough for a double-crust pie, so it’s perfect for those apple or cherry creations that need both a bottom and top crust. Wrap each disk tightly in plastic wrap and refrigerate for at least an hour—this rest time is non-negotiable, as it allows the gluten to relax and the butter to firm up again.
When you’re ready to roll, lightly flour your surface and roll one disk into a circle about ⅛ inch thick. The crust should be thin enough to be delicate but thick enough to support your filling. Handle the dough with care, and you’ll be rewarded with a perfectly flaky, tender crust that would make any grandma proud.
Grandma’s Pie Crust Substitutions and Variations
Many wonderful variations and substitutions exist for Grandma’s classic pie crust, allowing you to adapt this timeless recipe to suit dietary needs or simply try something new.
For gluten-free versions, swap all-purpose flour with a reliable gluten-free blend. Vegan bakers can use cold coconut oil or plant-based butter instead of dairy butter.
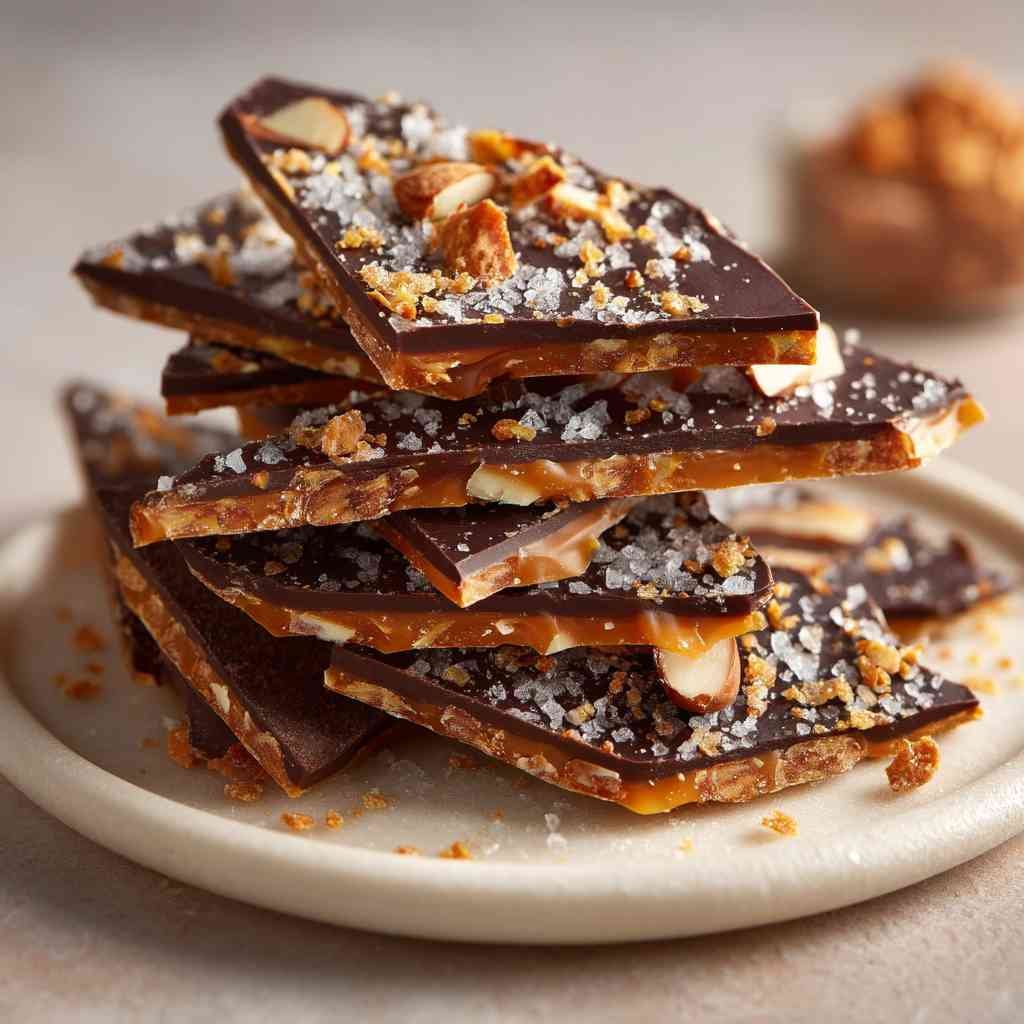
Want a nuttier flavor? Try replacing ¼ cup flour with almond meal or add a tablespoon of sesame seeds. For extra flakiness, substitute half the butter with cold shortening.
A tablespoon of vodka (yes, vodka!) creates tenderness without developing gluten, while whole wheat pastry flour offers a heartier, rustic variation.
What to Serve with Grandma’s Pie Crust
Now that you’ve mastered your pie crust technique, let’s explore what delicious fillings and accompaniments will showcase your flaky creation.
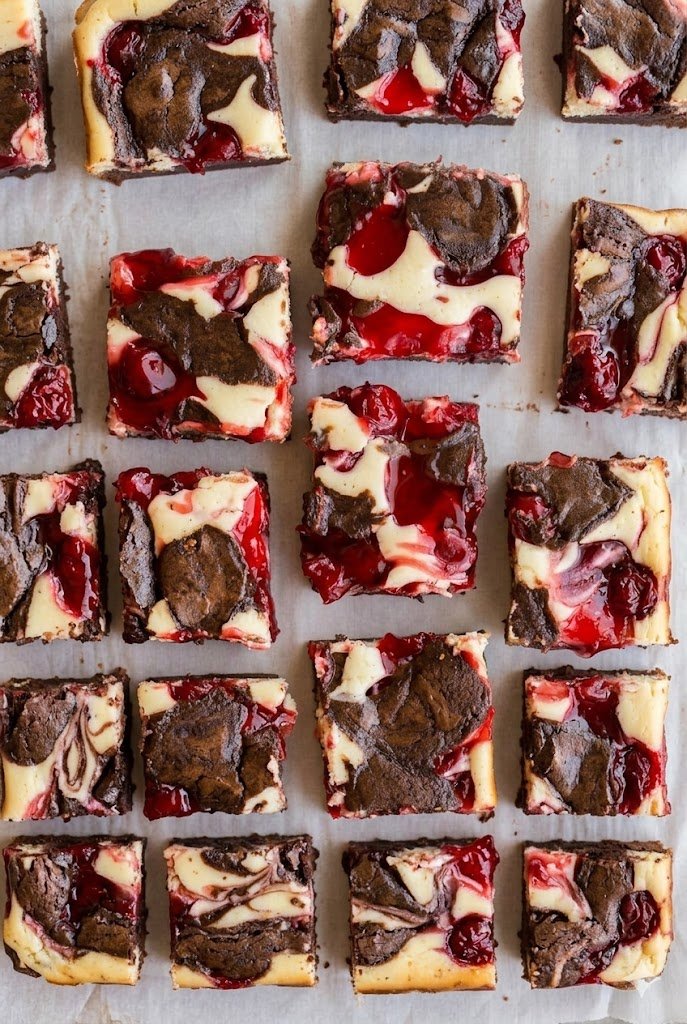
For fruit pies, you can’t go wrong with classic apple, cherry, or blueberry fillings.
Want something creamier? Try chocolate cream, coconut custard, or key lime.
Savory options include quiche, pot pies, and tomato tarts.
Serve warm fruit pies with vanilla ice cream or fresh whipped cream.
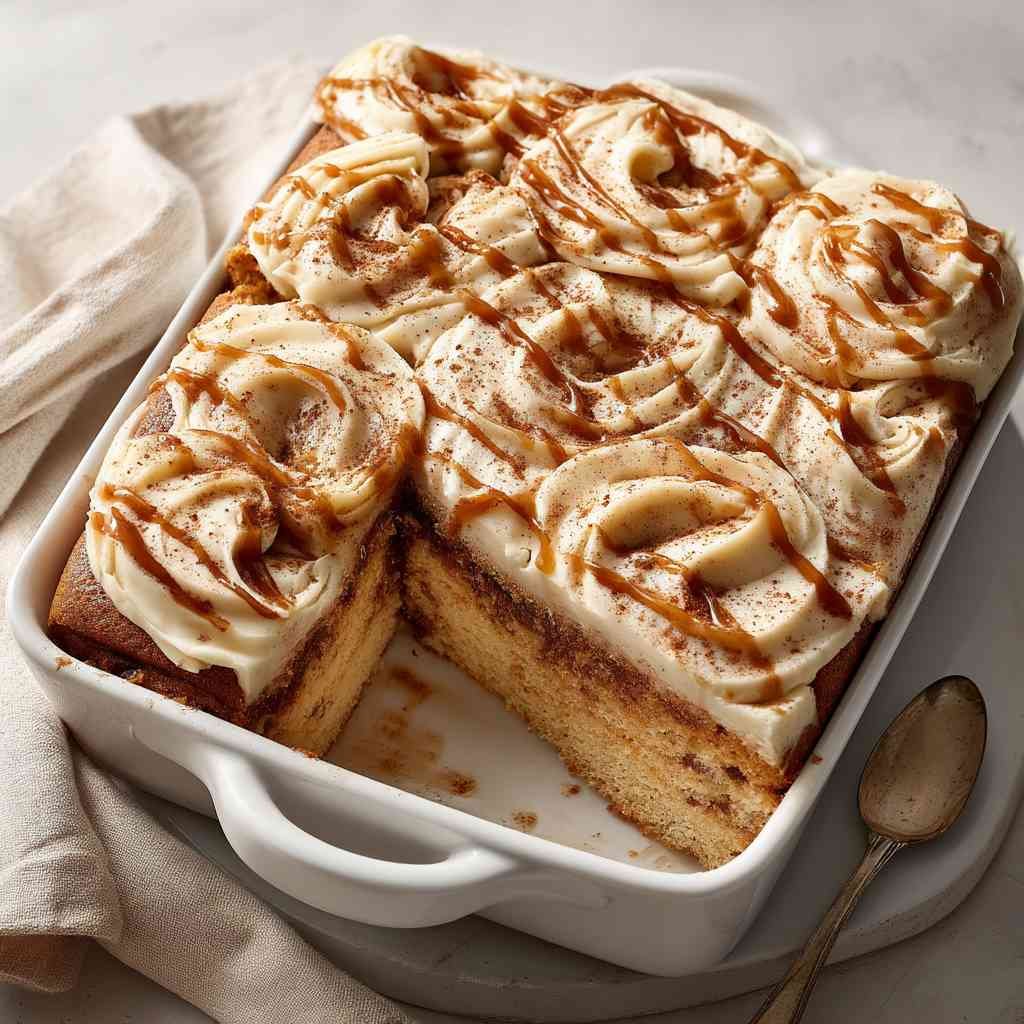
A drizzle of caramel sauce on apple pie? Divine.
For savory pies, pair with a crisp green salad or roasted vegetables for balance.
Final Thoughts
After spending time with Grandma’s pie crust recipe, you’ve learned the secrets to creating that perfectly flaky, buttery foundation for all your favorite pies. The magic lies in those cold butter chunks and minimal handling—truly the difference between good and extraordinary.
Remember, practice makes perfect. Your first attempt mightn’t look Instagram-worthy, but the taste? Absolutely worth it. What matters most isn’t visual perfection but the love you’ve folded into each layer.
Isn’t there something wonderfully satisfying about carrying on traditions through recipes? With this pie crust in your culinary arsenal, you’re not just baking—you’re preserving heritage, one flaky bite at a time.

Grandma’s Pie Crust
Ingredients
Equipment
Method
- In a large mixing bowl, whisk together 2½ cups all-purpose flour, 1 teaspoon salt, and 1 teaspoon sugar (if using) until the dry ingredients are well combined.
- Incorporate the 1 cup cold cubed unsalted butter into the flour mixture using a pastry cutter, two forks, or your fingertips, working quickly to leave pea-sized butter pieces for extra flakiness.
- Drizzle in 6 tablespoons ice-cold water and gently toss the mixture with a fork. Add extra water, one tablespoon at a time, until the dough just holds together when pressed.
- Gather the dough into a ball, then divide it in half and form each portion into a flat disk. This recipe makes enough dough for a double crust pie.
- Wrap each dough disk tightly in plastic wrap and refrigerate for at least one hour. This chilling step allows the gluten to relax and the butter to firm up, essential for achieving a flaky crust.
- When ready to use, lightly flour your work surface and roll out one disk to about ⅛ inch thickness. Handle the dough gently to preserve the butter pockets and ensure a tender, flaky result.